Showing posts with label scrap fabric. Show all posts

April 22, 2010

An Eco-friendly sewing day with The Quilter

I'm such a visual person I almost didn't post this because I don't have very many pictures. The Quilter lives in a beautiful neighborhood, and with the weather supposedly getting wet and yucky, I packed up my little ones and we went to her house. While the kiddos played in the backyard, the Quilter and I set up our sewing machines on the screened in porch and made a few things.

She called me last week and asked if I had seen any good tutorials for reusable lunch bags. What a co-inky-dink, I had a long list of lunch bag, sandwich, and snack bag tutorials to pick from. I got my most of my list from Whipup.net. I printed out my favorites, packed up some of my sewing room and lots of fabric scraps to take with me. We decided to do Betz White's reusable sandwich wrap, and purlbee's fabric lunch bag.


As I said, there aren't many pictures, I forgot my camera and The Quilter's camera was in the same room as a sleeping baby, so we went without.

We started with the lunch bag, which we thought would be more difficult. Honestly, it's a project a beginning sewer can do. It was fun, and probably the hardest part was choosing the button. I will say that my bag turned out better, simple because I used canvas fabric(per the instructions) and The Quilter used a lightweight cotton(ignoring the instructions, as usual) And yes, that's some sisterly one-up manship. She has since decided to take hers apart and line it with some iron-on vinyl. We also accidentally changed the pattern, which happens with us. Instead of using two 9 ½ by 13 inch pieces of fabric, ours were cut to 9 by 13 inches. It was my fault, I was the one umm, more perusing than reading the instructions. It didn’t really make a difference, and we decided we would try a few variations, longer, wider, bias tape lining, etc.
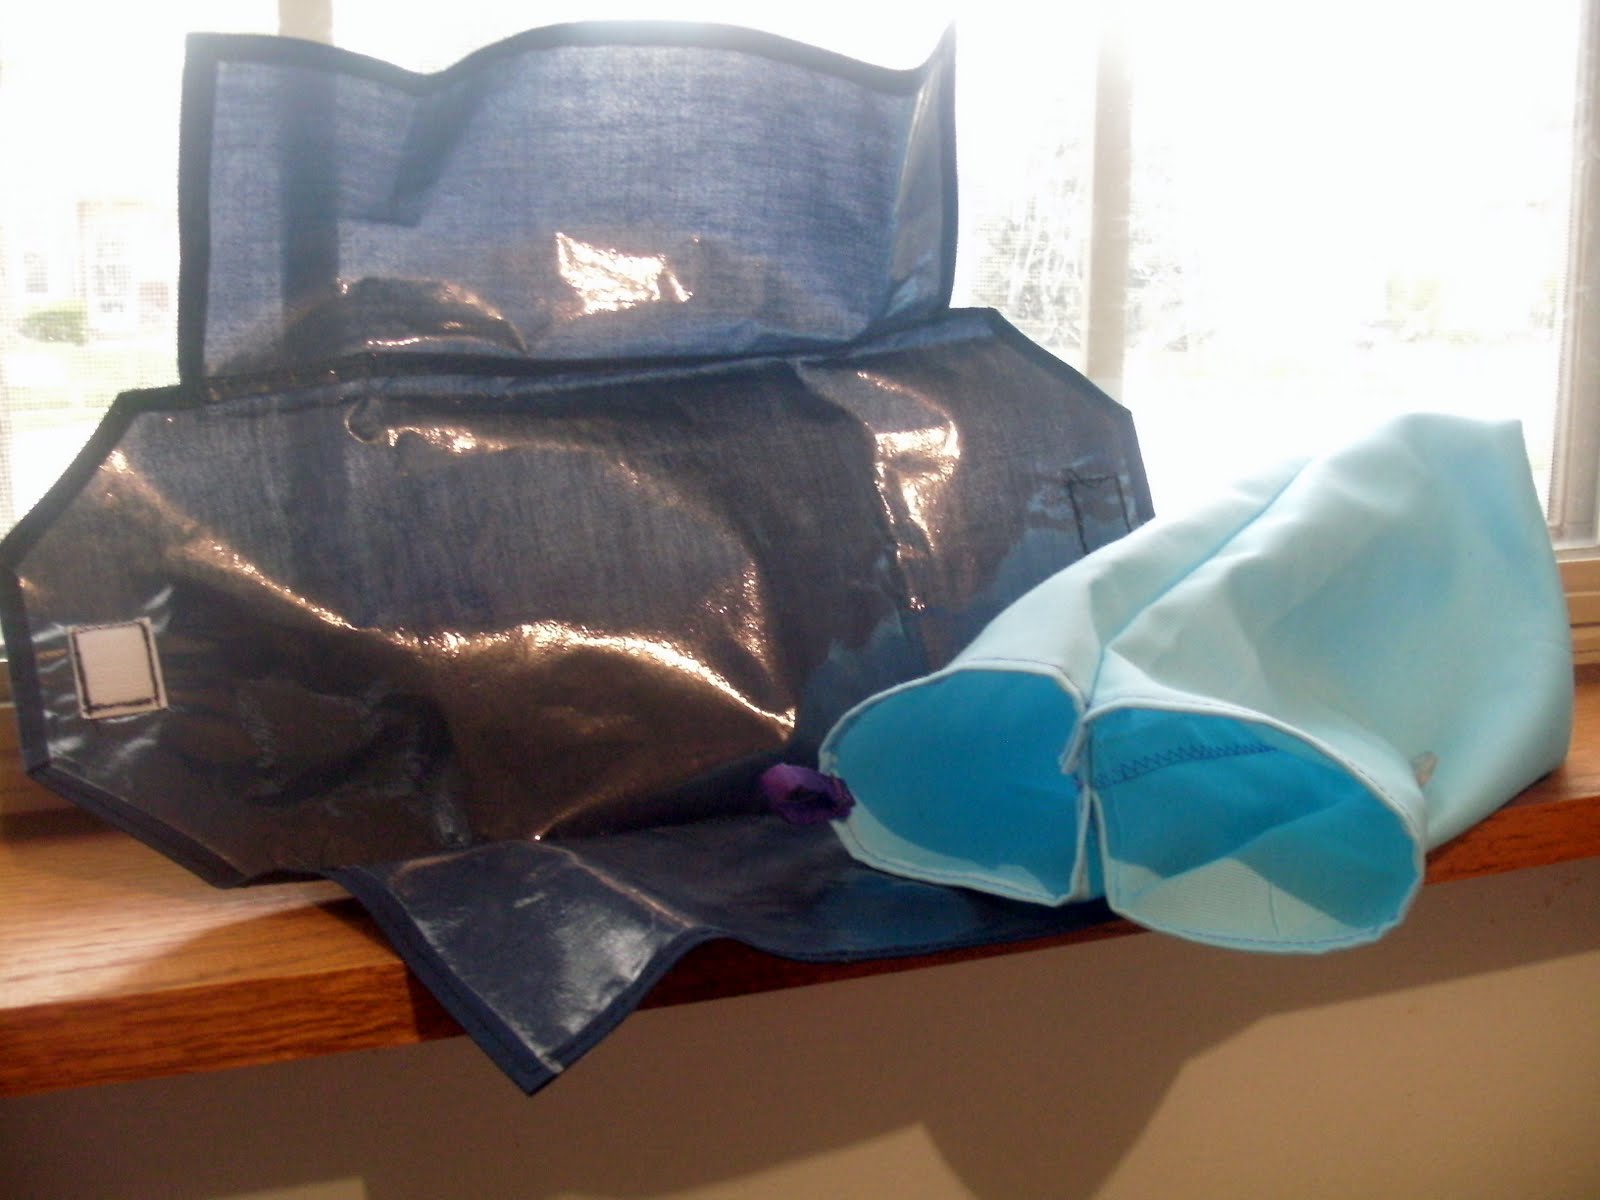
The sandwich wraps were also a lot of fun and very easy to make. It took us a little longer since we ironed vinyl onto the wrong side of some fabric, rather than buying PUL, as it recommends. We had another pattern alteration, again kind of my fault. I printed the template, but didn’t enlarge it as I was supposed to; we did it by hand, so our template was about a ½ inch bigger. Again, it really didn’t make a difference. This was a fun project, mostly because the vinyl made ironing the small seam allowances very easy. I thought the directions took the securing of the Velcro a little far until I unhooked my wrap and the Velcro came right off. In that respect, go ahead and follow the directions exactly. Even with all the interruptions from children and life in general, we had a great time and I’m, definitely going to make a lot more of both of these. The Quilter is thinking of using the lunch bag as party favor bags for G-Man’s upcoming birthday.  They are a great way to use scrap pieces of fabric, and they are quick aand easy to do.

Happy Thoughts!

April 20, 2010

Sweet little DVD case


On a long trip, we take the portable DVD Player, but not the case it comes with, so I made a cute little DVD case.  Want one?  Here's how to make it-
Materials-
2 colors of cotton fabric-1/2 to 3/4 a yard is plenty-I don't recomend using a patterned fabric until you've done this a few times
Embriodery floss-can be contrasting or matching one of the fabrics
1 5/8 button, 1 1/2 button
Cover decor- whatever you want, applique, embriodery
Template-download and print here

DVD holder:
After you've downloaded the template, print and cut it out.
Cut out template in both fabrics
Starting at bottom below curve, sew fabric pieces together with a 1/4" seam.  Leave opening to turn.
Clip corners and curve, turn rightside out and use pen or chopstick on corners.  You can slipstich the opening closed, or iron it(my shortcut for something that may not get washed)
Line up edges and sew along open side, again with a 1/4" seam.  
Sew across bottom open edge with a 3/4" seam. 

Repeat until you have as many as you want!
You can, of course, make one and use it as a gift case for a homemade DVD.

DVD Case:
Disclaimer- This was my first ever venture into applique.  I have never read or had any instructions on applique, I've only seen The Quilter doing it and the end result.  But now I know, you apply it before you sew things together, and you put some sort of backing onto the fabric before sewing it down.  That said, decorate your case cover before you sew it together, probably even before you cut the fabric into strips.  That's just my advice, though.
Cut two pieces of fabric strips, 6 1/2 inches by 14 1/4 inches-these can be contrasting or the same-let your creativity run free!
Sew these together with a 1/4 inch seam, leave an opening to turn.  Clip corners and turn, use chopstick on corners.  Again, you can slipstitch the opening closed or just iron it.

Place your DVD holders inside case, with a 1/2 inch space from short edge.  Fold case together, and stitch across bottom edge machine stitches, back stitching for a continuous line.
Sew 5/8" button on cover, I used 3 strands of floss.
To make button closure, knot end of floss, sew down from inside of case, then up again, and knot floss, but do not cut.
Thread 1/2" button onto floss, and place next to cover button to check length.
Sew back through holes of button to secure, being careful not to let floss get any longer.
Sew down from the inside to back of case, again, careful with the length
Knot on back side, cut floss.
Yay, you did it!  Now fill it with DVDs and carry it with pride!
Happy Thoughts!

March 30, 2010

Stuffed animal hanging basket

Okay, so I've been gone awhile, and I didn't even take pictures of what I've been up to, not even finished projects, except for this one.  

A friend came to me and asked if I could make a hanging basket for her daughter's room.  We talked about sizes, and agreed that if it measured larger than 18" on the sides it would be to big, and become a catch all.  She didn't want netting b/c she was worried her little girl would hang things on the netting. Yay, use up some of my scrap fabric!  I have to say, this was alot harder than I thought it would be.  Mostly because how I planned it in my head was not physically possible in real life.  If you're interested, I'll post a tutorial on how to make one. 
Apparently, I'm going to be making one for E, although I have no clue where to hang it-we don't have enough open corners for things like this!

She was rather put out when I told her she had to take her stuffies out.  After I told her it was for her friend DD, she explained that she needed one too.  That had more rainbow in it.  Not sure how I'd pull that off, either.
Sorry this isn't so good, it was time to drop it off when I thought to take the pictures.  This is how I got a rectangle of fabric to go into a corner.  I got really frustrated with this part, because for some reason, the folds wouldn't line up evenly.  I finally sucked it up and tacked them in place.
I will admit, my eyelets were horribly ugly, but it had been awhile since I'd used the tool, so we'll blame faulty materials.  It's unfortunate that you can't take those out if you mess up.  It was an easy project, from start to finish less than a hour, well, maybe more if you count the time it took me to remember how the eyelet crimper thingy worked.  Oh, and lets all agree not to tell my husband about the nail holes I left in the wall.  (I wanted to be sure it would actually hang up)  Of course, to be absolutely sure he doesn't notice, I will have to remember to take the nails out of the wall.
Happy Thoughts!

March 3, 2010

How ya like me pillows?

We've discovered that the laminate floors are very cold to sit on.  I'm sure come summertime, we'll enjoy that; however, right now we need something to sit on. 

So, using the leftovers from the pinboards and book slings I made some pillows.  And, since no one has stepped up to clean the mess under table, I did it myself by using the fabric under the table to stuff the pillows with. 

Check that out! In that huge stash of fabric I had matching colors for the back of the pillows.  The pinboard scraps were 6 inch wide strips that were about a yard long.  I cut them in half width wise and sewed them together on one of the long sides.  It was interesting to find that the matching solid fabric was also in strips, so I did the same thing with them.  The final sewing step was putting the solid and dotted pieces right sides together and sewing on three sides.  After stuffing, I used a long running stitch to close each pillow, the thought being that will make it easier to get the fabric out.  I was thinking that once each pillow is empty of fabric, I'll fill it with stuffing.

However, I don't think I'll run out of fabric stuffing anytime soon.

I'm back to waiting for someone to come and clean up the fabric under my cutting table. 
Anyone?  Anyone?
Happy Thoughts!

March 1, 2010

Whoever made this mess

needs to come over and clean it up RIGHT NOW!


Happy Thoughts